When we were living in Kissimmee, Florida several years ago, we camped all over the state. One of our favorite trips was to the Florida Everglades where we were awed by the color and shapes in the flora and fauna. We took more pictures there than usual. From these we selected a few as inspiration for the glass colors for a marble run at D.A.S. We named each color change: Gator, Marsh Grass, Citrus, Glades and more. You can read about our making marbles and about master colorist Dave McCullough in an earlier post.
Once we returned home from making marbles in West Virginia, we bought a small glass kiln and learned how to “slump” (melt) some of the marbles we made. We were really surprised at how uniform and beautiful they turned out! And so began a new marble enterprise of making pendants from slumped marbles. Many of our marbling friends have done the same thing, but if you haven’t made jewelry from marbles, this post shares what we learned along the way.
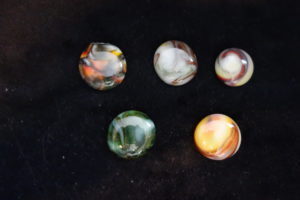
Choose Your Marbles
We used the Everglades Marbles that we made with Dave McCullough in 2015. Later on, we tried slumping vintage glass marbles; this taught us that older marbles, for whatever reason, do not melt as well as modern glass. We also observed that when our marbles melted the colors turned “inside out” much like an ice cube. The top of the pendant looked like what was inside the marble instead of like the marble’s surface colors. This brought some unexpected results in coloration.
Loading the Kiln
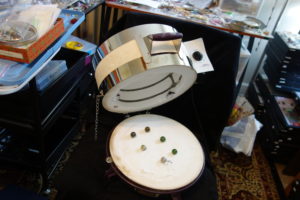
We are currently using a small glass kiln ordered from a crafts store. We overloaded it with marbles the first few slumps but gradually determined what the kiln could manage. Before you actually start 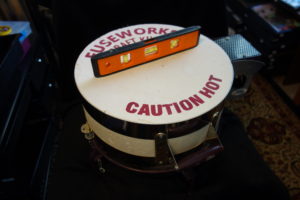 putting the marbles in, the kiln must be leveled. We use an inexpensive level from the hardware store, as shown in the photo below. You must also place a piece of “kiln liner”, a special paper the keeps the molten glass from sticking the kiln floor. This, too, can be purchased from a crafts store.
Next you add marbles to the floor of the kiln spacing them about 1 1/2 to 2 inches apart. Marbles that turned out slightly irregular during manufacturing, or even “footballs”, can be used. If they will not stay in place and roll, a bit a of school glue can be used to anchor them. The above photo shows a loaded kiln.
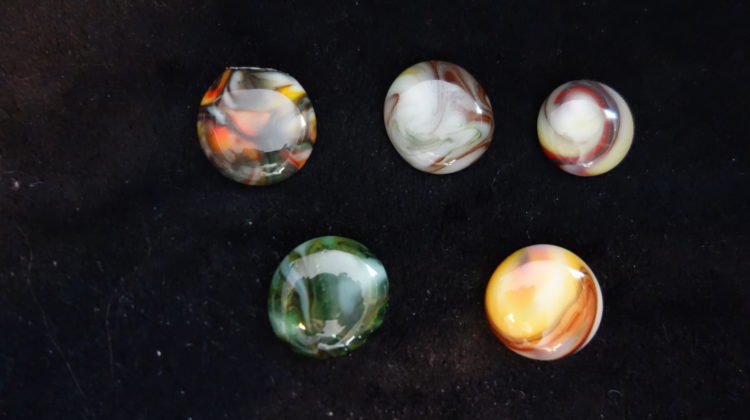
The Slumped Results
Our craft kiln has a timer but should not be heated more than 15 minutes. This seems to be perfect amount of time for the project. After shutoff, the kiln and glass will be very hot for about an hour. Don’t peek! The sudden intake of colder air has caused damage to the hot glass inside.
The kiln cooled down then we opened it to reveal the results. The flattened glass pieces need a good wash now.
Making Pendants
To ensure a bond between the glass and the pendant mount, roughen the back of the disc where it will attach. An electric tool, also from the hardware store, does a great job; but a nail file will work. Using E6000 glue (or similar flexible glue), join the mount to the disc and let it cure for 24 hours.
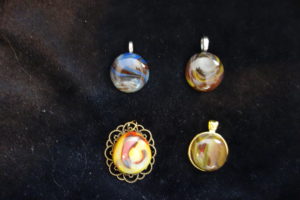
There are several types of mounts and the ones we have used are shown below. They range from the most simple to more ornate frames.
